

If you're considering going solar, you’re probably wondering whether your roof can adequately hold your system. Rooftop solar installations are typically cheaper than ground-mounted systems because they use existing infrastructure and don’t take up extra space on your property. But some roofs are easier to work with than others. Solar energy systems can last more than 30 years, so to best support your system, your roof needs to last at least that long.
In this guide, we’ll explain which roof materials are best for solar panels, the structural considerations to keep in mind when planning your installation, and other factors to keep in mind.
PowerOutage.us tracks 950+ utilities serving 200+ million customers, providing live regional outage patterns and grid reliability data. We analyze storm-driven failure trends to help homeowners plan the right solar and backup systems.
Best roof types for supporting solar panels efficiently
Many roof types can host solar panels, but the best roof for solar panels depends on roof material, condition, slope, exposure to sun, and how easily an installer can mount and flash attachments. Some materials accept standard mounts with routine flashing; others require specialized hardware, added labor, or have more risk of breakage.
Here’s what you can expect based on your roof type:
- Asphalt shingle roofs are the most common type of roof. They’re low-cost, relatively low-maintenance, and typically have a lifespan of up to 30 years. Asphalt roofs are easy to work with, but do require drilling and flashing.
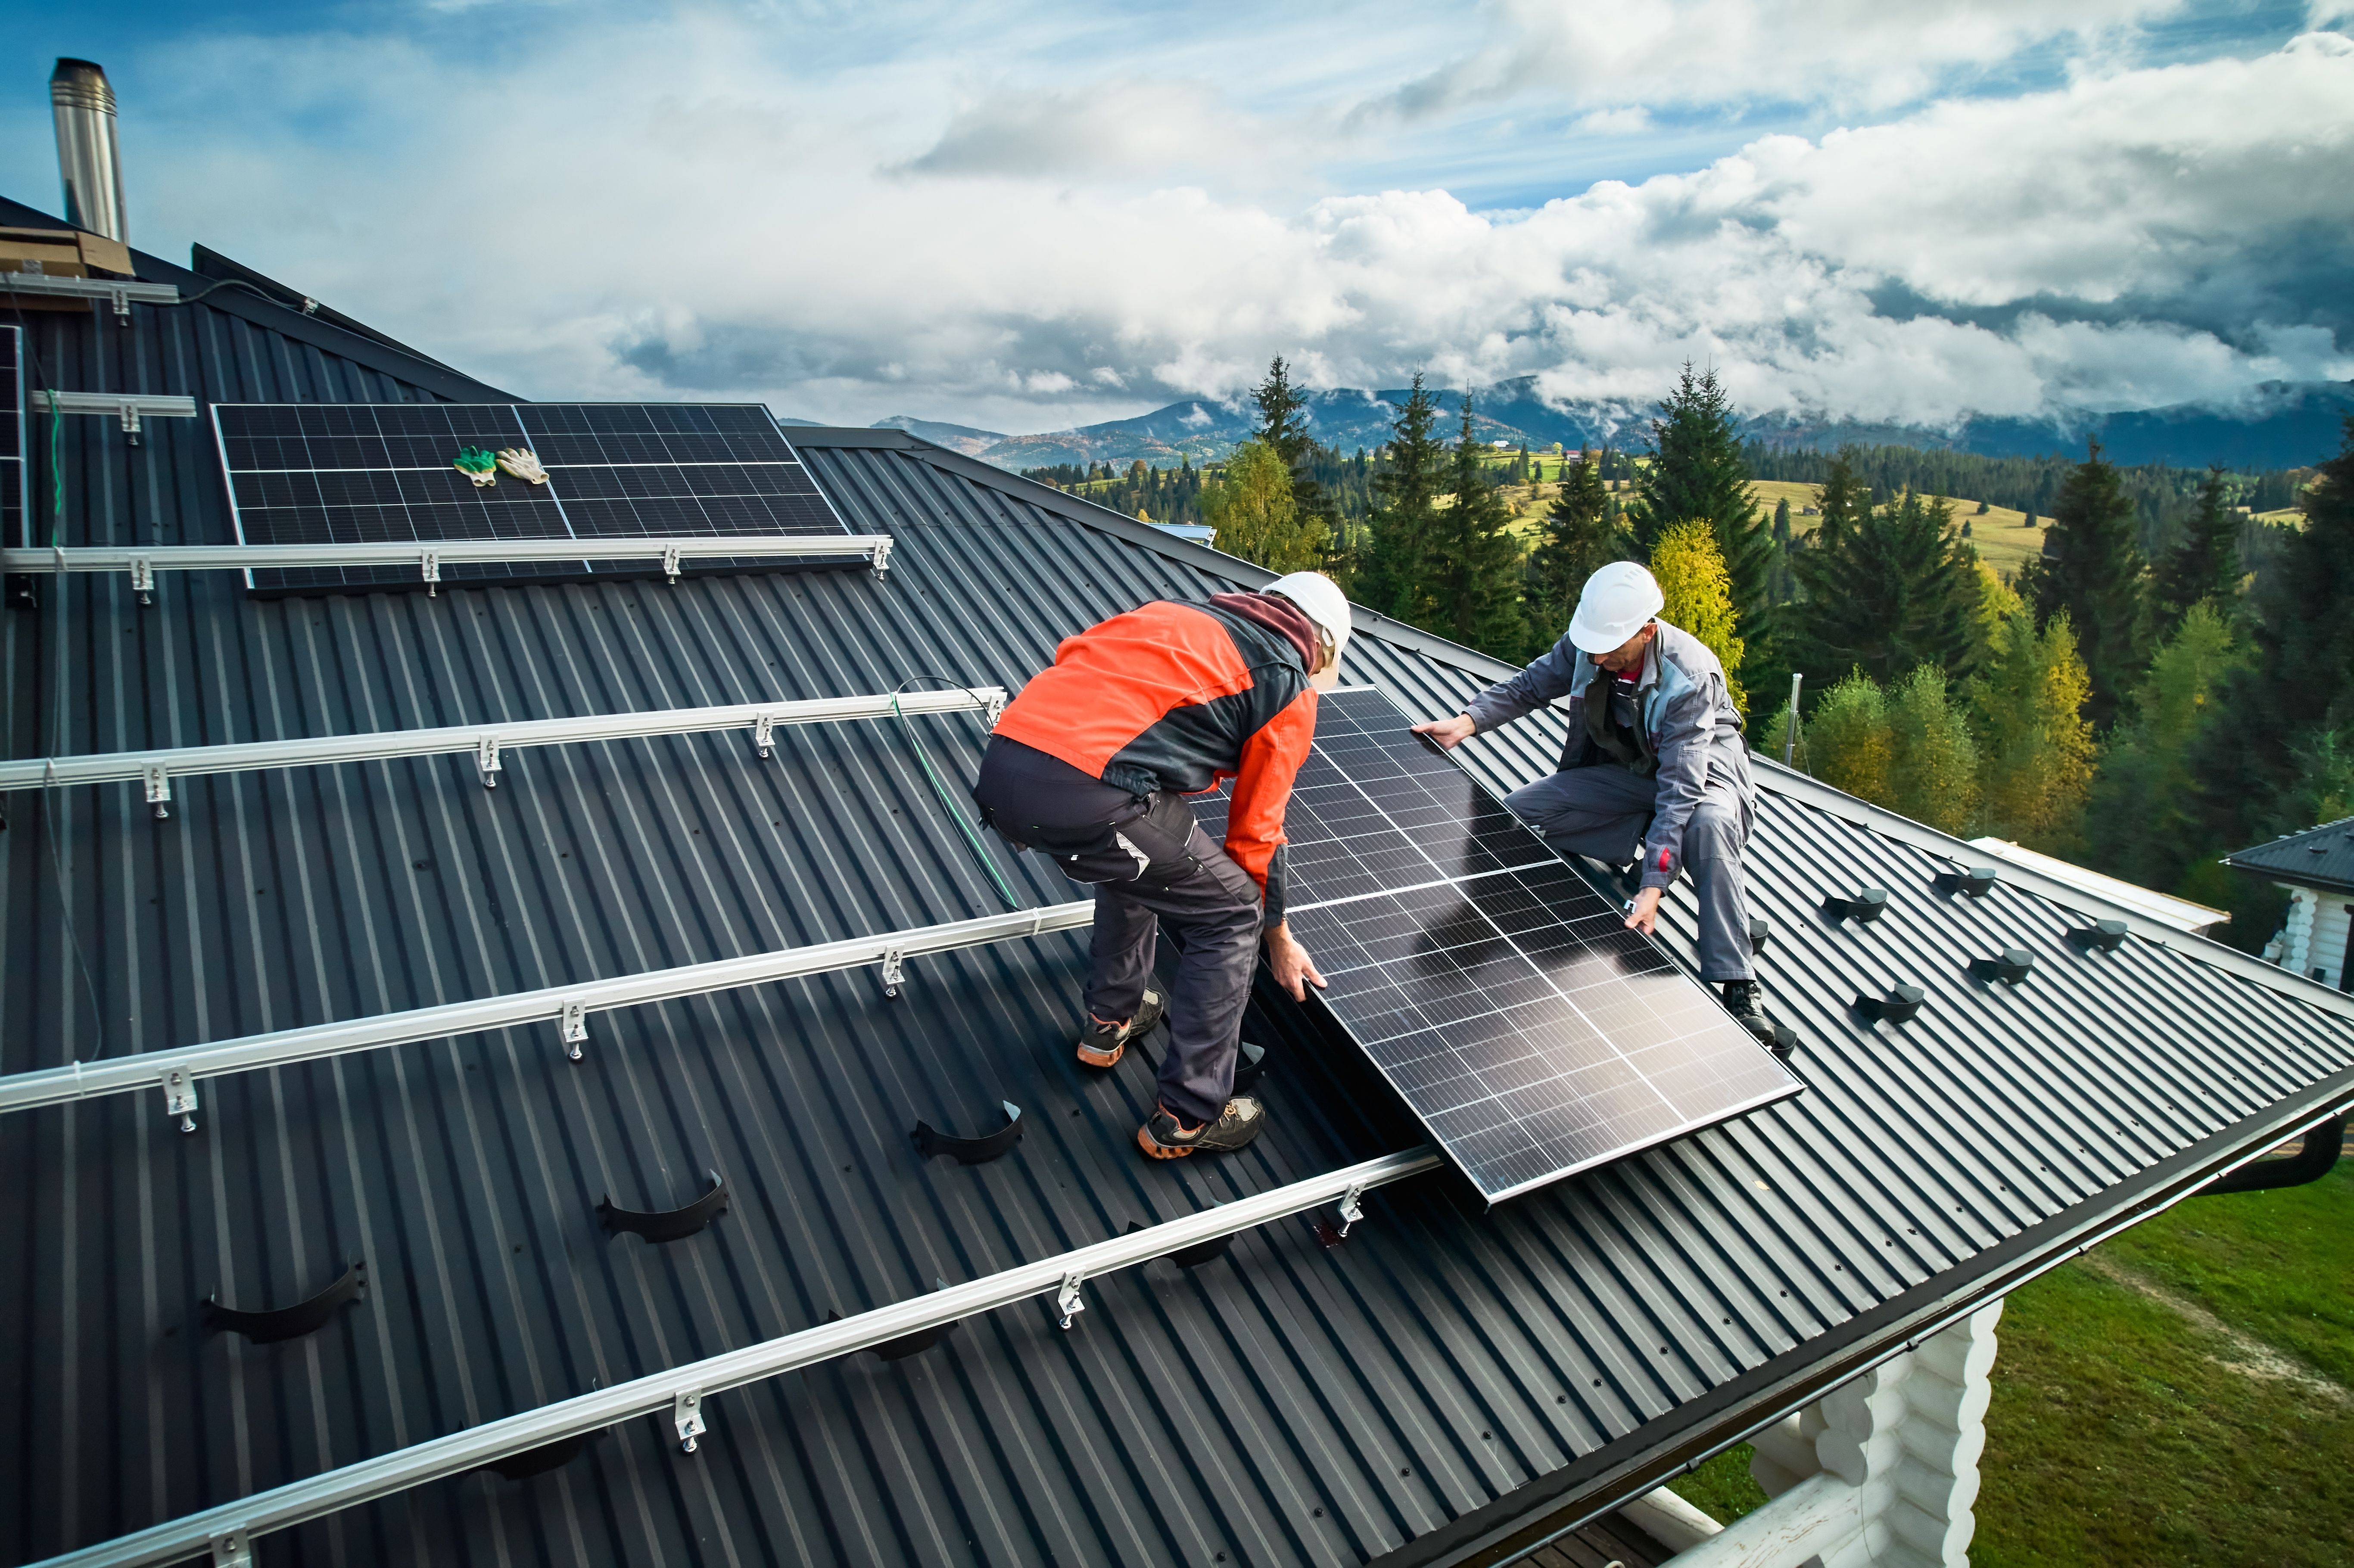
- Standing-seam metal roofs are among the best for mounting solar panels. They don’t require penetrations, as the mounting equipment fastens to the seams. That alone significantly reduces potential damage. Metal roofs also have a long lifespan, sometimes lasting up to 75 years or more.
- Tile roofs are typically found in oceanfront areas or in hot climates. They’re pretty durable and can last up to 50 years. Tile roofs can be difficult to work with because they’re fragile and expensive to modify. Make sure the installer you hire has experience mounting solar systems on tile roofs.
- Wood shake and slate roofs are both very difficult to work with and often unsuitable for installation. Many jurisdictions prohibit solar systems on wood shake roofs due to fire hazards, but even when they permit them, some installers still won’t take the job. Though slate roofs are very durable and noted for their fire resistance, they’re also fragile and require specialized equipment and expertise to work on. Installing a solar system on a slate roof requires attaching mounting brackets and standoffs, which can be costly.
- Flat roofs are generally suitable for solar panels, but require structural checks before installation and tilt mounts to optimize sun exposure.
Below, you’ll find a table that lays out what you’ll need to know about installing solar panels on a roof. It explains key terms, why they matter, and what you might want to ask an installer about.
| Roof feature or factor | Why it matters | What to watch or ask about |
|---|---|---|
| Roof orientation (south-facing ideal) | Maximizes sunlight exposure and energy production | East/west can work, but north-facing is least effective |
| Roof angle or pitch (15°–40°) | Affects how much sunlight hits panels throughout the day | Flat roofs may need angled mounts, increasing install cost |
| Roof material (asphalt, metal, tile) | Determines ease and cost of installation | Asphalt and standing seam metal are easiest; tile is harder |
| Shade from trees or buildings | Can significantly reduce energy output | Ask for a shade analysis with your solar quote |
| Roof age and condition | Panels last 25+ years, so roof should too | Roof replacement before install may be needed if aging |
| Available space and layout | Affects how many panels you can fit for full system output | Obstructions (vents, skylights) reduce usable space |
| Structural integrity | Ensures roof can support weight of panels and racking | May require reinforcement for older or weak roofs |
| Local climate (snow, wind, hail) | Impacts wear and panel performance | Ask about weather-rated mounting and panel durability |
| HOA or zoning restrictions | Can limit where and how panels are installed | Check local rules early to avoid permit issues |
| Roof color or reflectivity | Influences heat and may affect panel efficiency | Darker roofs may raise panel temperature slightly |
Match roof slope and direction with panel output
Roof slope and direction are central to choosing the best roof for solar panels because they directly affect how much sunlight the modules receive throughout the year. A roof that points toward strong sun exposure with a reasonable pitch typically produces more power with fewer panels, which can lower total system size and simplify layout.
If possible, place solar panels on south-facing roof planes in the northern hemisphere to capture the most annual sunlight. If a south-facing roof plane is limited or shaded, east- and west-facing arrays can still perform well and often spread production more evenly across the morning and afternoon.
Assess roof age and condition before installing
A roof can only be the best roof for solar panels if it’s in good condition before the first mount goes in. Start by confirming the roof’s age and expected remaining life; as a general rule, a roof should have roughly 10–15 years (or more) of life left so you don’t face a tear-off shortly after installing a 25–30+ year solar array. If the roof is near end-of-life, re-roofing before solar often costs less than removing and reinstalling panels later.
Inspect the roof for cracked or curling shingles, broken tiles, soft spots, deteriorated underlayment, rusted flashing, rot, and any signs of active leaks. Repair existing roof damage first so the solar installation starts on a watertight surface. Take clear photos of the roof before and after installation, and keep them with your solar paperwork to help document the condition if a leak ever needs diagnosis.
Consider structural capacity for added load
Solar panels can be heavy, so you need to consider your roof's structural load capacity when planning your system. Panels add between 2.5 and four pounds per square foot. If you have a flat roof, you’ll need an engineering review of the ballast weight to ensure your roof can accommodate the additional load. Before installation, check whether any existing trusses or joists require reinforcement.
Compare installation labor by roofing material
Some roofs require less labor to install solar panels, which can reduce the upfront cost of your system. Installing on shingle and metal roofs is typically a quick process that requires minimal tools. Tile and slate roofs require more labor because some tiles may need to be removed and specialty mounts used. Flat roofs use ballasted or mechanically attached racking, which can take longer to install and requires more initial inspection.
Plan for panel layout and spacing
A solar-ready roof layout helps keep a roof in “best roof for solar panels” shape over the long term because it preserves access for maintenance, firefighting requirements, and future roof repairs. A tight, cluttered layout can force technicians to step on modules or work around penetrations, increasing the risk of damage.
Keep these layout guidelines in mind for a roof-mounted solar panel system:
- Leave code-compliant walkways and access paths for fire setbacks and service. Ensure a technician can reach each array section, junction box, and conduit run without unsafe climbing or stepping on fragile roofing.
- Place panels away from chimneys, plumbing vents, skylights, and roof valleys when possible. Reducing congestion around penetrations lowers leak risk and makes flashing and sealing work easier to inspect.
- Use clean, symmetrical rows where the roof shape allows. A consistent layout simplifies wire management, keeps conduit runs short and protected, and makes future troubleshooting faster.
Understand penetrations and flashing methods
Aside from standing-seam metal roofs, on which you can use clamp mounts to secure your solar panels, installing a solar system will require drilling. Roof penetrations can cause leaks, which can lead to mold and rot, so preventing water from seeping in is of utmost importance.
When flashing shingles, use lag bolts designed for heavy-duty use. If installing on a tile roof, you can find mounts that replace tiles and are fully integrated with the roof. Otherwise, tiles can be lifted or notched to help prevent damage.
Bottom line: selecting the best roof types for solar
Shingle and standing-seam metal roofs are the most solar-friendly, as shingles are easy to work with and standing-seam metal roofs don’t require roof penetrations. When considering solar, check your roof’s age and condition before proceeding. You should also know its slope, as this will help you determine the correct tilt for your panels. Good preparation avoids damage and costly rework later. However, solar isn’t for everyone, especially if you need to undertake expensive roof repairs before even getting started.