

There are some good reasons to consider building and installing your solar energy system yourself. Maybe you want to save money or want the experience. Perhaps you just like a challenge. Whatever the reason, DIY solar panels are an option for making the move to renewable energy—but one you should consider carefully.
In this guide to DIY solar panels, we provide a look at what’s involved in building your own system and the advantages and drawbacks of doing so. You’ll also learn the risks involved with DIY solar and when it might be a good idea to bring in a professional or two.
Building DIY solar panels from basic solar cells
While it isn’t exactly simple to build your own solar panels from scratch, it doesn’t take an engineering degree to do so either. Once you understand how they are constructed and what you need to be mindful of, creating DIY solar panels is relatively straightforward.
The simplified steps to constructing your own solar panels include:
- Choosing photovoltaic (PV) cells: Monocrystalline solar cells are used in the majority of solar panels in use today due to their high efficiency and longevity. That makes them a smart choice for DIY solar panels, too.
- Connecting cells: The individual cells in your panels will need to be connected to each other in series. Flat copper wire known as tabbing wire is the correct choice for wiring PV cells together.
- Laminating cells: Once the cells are connected, you need to laminate them with ethyl vinyl acetate (EVA) to hold them together.
- Affixing backsheets: Your DIY solar panels also need backsheets that prevent light from passing straight through the back of the cell before being converted into usable energy.
- Applying glass covers: Solar panels have a sheet of durable tempered glass on top that protects the cells from the elements while still allowing light to enter.
- Sealing cells: Finally, you’ll need to seal the edges of the solar cell assembly to prevent water from entering and help it resist UV damage.
DIY solar panels: What to consider before you start
If you want to build your own solar panels, there are many things to take into account. We’ve provided the most important considerations in the table below.
| Consideration | Why it matters | What to watch for |
|---|---|---|
| Cost savings | DIY can lower upfront cost | May sacrifice warranty, quality, or safety |
| Permitting and code compliance | Solar must meet local building and electrical codes | Many areas require licensed installer sign-off |
| Electrical safety | Working with high voltage can be dangerous | Improper setup risks shock, fire, or system failure |
| Roof penetration | Poor mounting can cause leaks | Use proper flashing and sealing methods |
| System design | Custom sizing needed for efficiency | Miscalculations lead to poor performance |
| Utility interconnection | Must be approved for grid-tied systems | Utilities may reject DIY installs |
| Equipment quality | Consumer kits vary in reliability | Research brand reviews and certifications |
| Monitoring and support | DIY often lacks tech support or apps | Troubleshooting may be difficult post-install |
| Incentive eligibility | Some rebates require pro installation | DIY installs may not qualify for state incentives |
| Time and skill required | Full install is labor-intensive and technical | Steep learning curve if not experienced |
Size your system based on power needs
The first step in building DIY solar panels that you intend to use for your home is to determine the size and capacity of solar panels you need. This requires getting a good estimate of your average energy load—or the amount of power your home uses in a given period.
Estimate size based on appliance/system power draw
To get the most accurate estimate, you’ll need to take note of all the appliances you use regularly in your home and their daily power draw. Then, add those together to get your total watt-hours per day.
Estimate size based on monthly power bill
A quicker but less precise way to estimate is to check your monthly power bill and see how much power you use in a month on average. Then, take that number and divide by 30 for an average daily rate. Keep in mind that power usage fluctuates throughout the year based on seasonal factors, so the best estimate will be an average of every month in a given year.
Solar panel efficiency and voltage
Solar panels aren’t 100% efficient. Most residential solar energy systems convert about 18 to 22% of the sunlight they receive into usable electricity. There are also efficiency losses from the inverter, wiring, and temperature effects, so a system rated for 1 kW of solar input typically delivers around 800 watts of electrical output under real-world conditions.
Your system voltage is also a choice you’ll need to make. For most residential purposes, a 48V system will ensure that you are supplying enough energy to your home to power everything you use. A 24V system may be suitable for smaller homes and off-grid setups, while a 12V system is most useful for basic applications that don’t require a lot of energy at once.
Choose and configure battery storage
Solar batteries allow you to store excess energy generated by your solar panels, greatly improving your system’s ability to power your home when sunlight isn’t available. However, adding a backup battery introduces more complexity and several new decisions.
Type of battery
Deep-cycle lithium-ion and absorbed glass mat (AGM) batteries (a type of sealed lead-acid battery) are the most popular choices for solar storage. Lithium-ion batteries are generally preferable due to their higher energy density, longer lifespan, lighter weight, and greater efficiency. AGM batteries, however, offer a lower upfront cost and simpler maintenance.
Battery bank size
Solar battery capacity is measured in amp-hours (Ah), which indicates how long a battery can supply current before needing to be recharged. Amp-hours can be found by dividing the battery’s energy capacity (in watt-hours) by its voltage.
For example, a battery rated at 1 kWh (1,000 Wh) and 48 volts has a capacity of about 20.8 Ah (1,000 ÷ 48).
A 1 kWh battery would last for about one hour, since 1 kW = 1,000 W. Amp-hours describe current, not runtime directly. To estimate runtime, divide the battery’s energy capacity (Wh) by the power draw (W).
Depth of discharge (DoD)
Most solar batteries have a DoD rating, which determines how much of their stored energy can be safely used. For instance, if a 1 kWh battery has an 80% DoD, you can use up to 0.8 kWh before needing to recharge. Exceeding this limit shortens battery life.
Battery wiring
Most residential systems use multiple batteries connected in series or parallel to achieve the desired voltage and capacity.
- Series wiring increases voltage while keeping capacity (Ah) constant. Example: Two 24 V, 30 Ah batteries in series produce 48 V at 30 Ah.
- Parallel wiring keeps the voltage the same but increases capacity. Example: The same two batteries wired in parallel produce 24 V at 60 Ah.
Batteries should be wired to match your inverter’s voltage requirements. For instance, if your inverter is designed for 48 V, you’d use series wiring with 24 V batteries.
Battery management system (BMS)
Solar batteries also require a battery management system to regulate charging and discharging, monitor voltage and temperature, and prevent overcharging or short-circuiting. Some lithium batteries have built-in BMS units, while others require an external controller compatible with your system.
Select and install a charge controller
A solar charge controller is another critical component of any solar array. There are two main types of charge controllers: pulse-width modulation (PWM) and Maximum Power Point Tracking (MPPT).
MPPT controllers are a newer, more advanced technology that helps maximize the efficiency of your solar energy system, even in low-light scenarios. This efficiency advantage is the main reason they have become the go-to charge controller for modern solar arrays.
Like your batteries, your charge controller’s voltage and current ratings must match the ratings for your panels. Mismatched controllers won’t function properly and could create an electrical hazard.
Installing the charge controller
Ideally, your charge controller will be installed as close as possible to your batteries to help limit energy loss during transmission. You should also install fuses or circuit breakers between all major connection points. This provides a safeguard against short circuits and overloads.
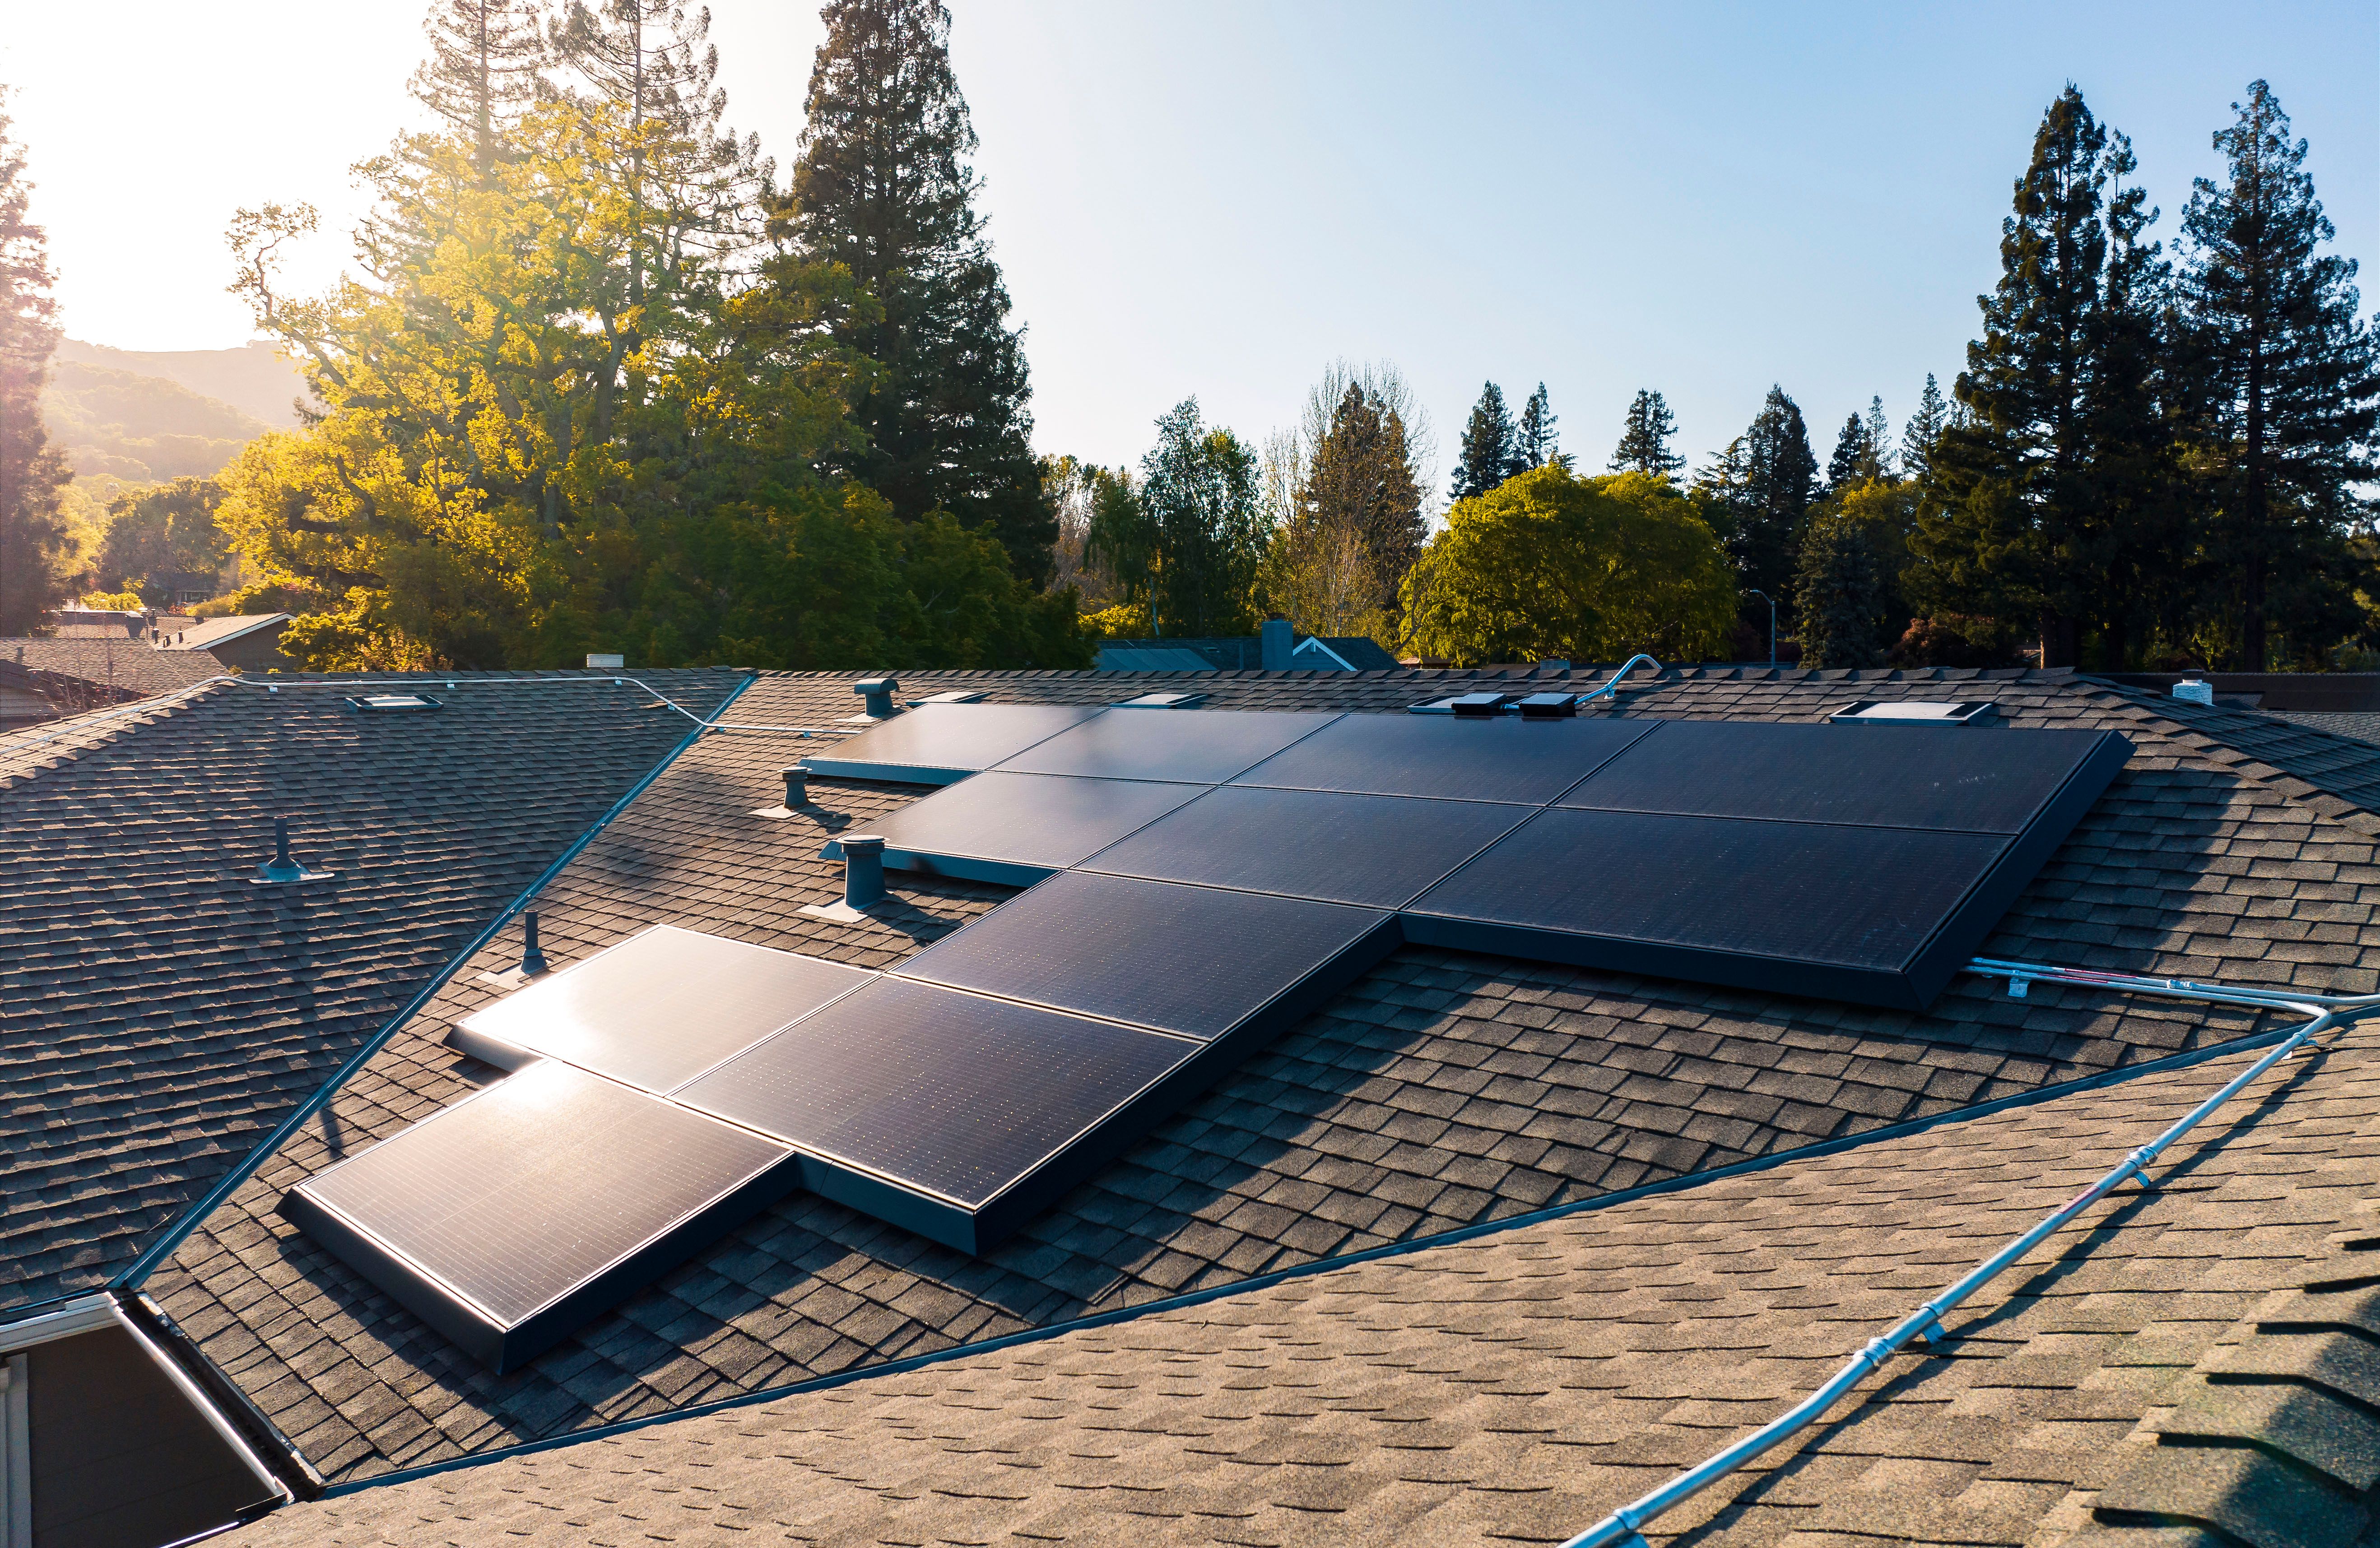
Design and build the mounting structure
Your solar panels need to be mounted to your roof or other surface that has plenty of access to direct sunlight. The metal framing used to mount panels is called solar racking, and is typically made of aluminum or galvanized steel.
For rooftop mounting, your racking should be installed at a tilt angle that maximizes sun exposure. The general rule of thumb for a fixed mount—or, a racking mount that stays in place permanently—is to match the tilt angle to your latitude.
If you’re mounting your DIY solar panels on the ground, you’ll need to anchor them properly to keep them in place. Setting concrete footers for ground racking posts is probably the cheapest way to do this, but you can also use more advanced anchoring systems such as screw piles.
Leaving a few inches of clearance beneath panels allows airflow for cooling, which can improve efficiency and extend component life.
Wire your system safely
You will need a solar inverter that matches the voltage and load demand of the rest of your system. All of the wiring in the system should be cables that are specifically rated for solar applications. MC4 connectors are considered the standard connecting hardware in the solar industry due to their high safety ratings and should be used in your DIY setup.
Wiring and other electrical components that aren’t rated for your system can pose serious risks. Electrical work is also the most difficult part of solar panel installations for most DIYers.
The electrical configuration of your solar setup should also include safety components to prevent damage from short-circuiting and other faults. Proper grounding is the first and most important safety feature. DC disconnects allow you to isolate panels from the inverter for maintenance or emergencies.
At all points, you should ensure that your electrical work complies with local electrical code—for both legal and safety purposes. You should also install highly visible safety labels to highlight potential hazards and make it easier to work on electrical components.
Monitor panel output and system health
It is important to keep tabs on the efficiency and health of your system while in operation. Your panels operating below their normal output is a sign that something is wrong and needs to be addressed.
At a basic level, you can use a multimeter to test panel voltage and current individually, but never measure live system amperage without proper training and protective gear. This will give you a basic idea of whether the system is running properly or not.
However, you can now find solar monitors and controllers that offer more detailed information. Some have built-in displays, while others connect to mobile apps or web portals. Both provide an easy way to keep an eye on system performance.
What to do if your DIY solar system isn’t running well
There are very few moving parts that wear down in solar arrays. That means that malfunctions are typically related to one of two main issues.
In some cases, wires and connectors can corrode over time. This can lead to poor connections or electricity leaks, both of which reduce efficiency. Another common source of performance loss is when the PV cells become obscured, often due to shading, dirt, or cell discoloration.
Clean and maintain your DIY solar array
Solar energy systems don’t require much maintenance, but they do require some. The regular maintenance for your DIY solar setup should include:
- Periodic surface cleaning with deionized water and a soft brush
- Quarterly inspection of mounting bolts, wiring, and connections
- Looking for animal nests under or near panels
- Keeping performance and maintenance logs for warranty or resale purposes
Understand common DIY panel risks
There are some inherent risks that come with building your own solar panels instead of buying them from a manufacturer. Careful planning and attention to detail can go a long way toward helping you avoid these risks, but there are a few common issues that tend to arise with DIY solar arrays, including:
- Glass breakage
- Moisture damage from poorly-sealed panels
- Electrical damage from mismatched wire gauges, voltages, or incompatible connectors
- Short circuits or overloads due to poor fusing
- Electrical shock or fires caused by incorrect grounding
- Underperformance due to poor layout or mounting
Know when to involve professionals
Just because you can build a working DIY solar array doesn’t mean you won’t benefit from the help of a professional. Many of the jobs involved in installing your own panels and hardware are easy enough for a reasonably handy person to do without issue. However, some parts of the job are potentially hazardous to your health or your home.
Connecting the electrical components in your solar array is an especially risky part of the process and a good time to bring in a pro. A skilled electrician can help ensure that your system is wired properly and has all the necessary safeguards in place. If you are connecting your setup to the power grid, the local utility provider may require you to hire an electrician to make the connection.
A structural engineer can verify that your roof can support the additional weight and wind load of solar panels, reducing the risk of structural damage. This can ensure that you don’t overload your roof and risk it collapsing from too much weight. They can also identify weak points in your roof structure that you should avoid putting weight on.
The permitting process can also be a difficult and frustrating one for many DIY solar users. However, it is critical to ensure your DIY solar system is legal and in compliance with local rules. Most areas have solar permitting services whose job it is to help you navigate local permitting processes and regulations—or do the work for you. Some local governments and private companies offer solar permitting assistance or inspection coordination.
Bottom line: DIY solar panels require skill, tools, and planning
Building your own solar panels can be a cost-saving and satisfying endeavor for people with the patience and skill to do it. However, DIY solar setups involve far more work, planning, and equipment than simply hiring a professional team to do the job for you. In the end, the cost difference of a DIY solar energy system may not be worth the trouble for many homeowners.
You don’t have to DIY every aspect of your solar array, either. It’s still possible to save money by doing the less-skilled physical work of installing solar equipment and hiring professionals to take care of the work that requires specialized knowledge or poses potential safety hazards.
Regardless of which route you take, always make sure to test every piece of equipment before connecting it to a battery or your home electrical configuration.